MB-ARCH-0040ARCHIVE RECORD · OPEN DISTRIBUTIONLIVING DRAFTAS OF LS 212
The Break
The failed region of the Vector Lattice, the velocity threshold named after it, and the grounds where the wars are fought.
Source: docs/lore/04_the_break.md · rendered by build_machborne.py · last updated 2026-08-29. Edits to the lore file flow to this page.
The region
The Break is the failed region of the Vector Lattice: eleven inhabited systems that lost transit forty years ago and a boundary zone around them where the gradient is turbulent but passable. Nobody has come back from the interior. The boundary is where the wars go.
Inside the boundary, three things are true that are not true anywhere else:
Drives couple harder. A Mach Drive in the boundary zone glides further, burns harder and holds a body together at speeds past its rating. Operators describe it as the ground "wanting" them to move. Telemetry describes it as a coupling coefficient nobody can explain.
Salvage is real. Drives, cells and Cores that were inside the Lattice failure carry the change with them when they leave. A Break Core outperforms a foundry Core, and a bloc that holds enough of them can outfit a company that outruns everyone else's. This is why the salvage raids happen and why the sanctioned contests exist to substitute for them.
It moves. Since LS 204 the boundary has expanded once. The blocs' survey services all say it will expand again and disagree about when.
Boundary-zone worlds are the settled planets and stations of the eleven systems' outer reaches: half-evacuated, half-held, with old node stations, dead foundries and fortified salvage camps. Most MACHBREAK battlefields are in the boundary zone or in sanctioned-contest grounds built to imitate it.
"The Break" is a place. "The Break" is also the velocity threshold every Drive has, marked on the HUD, where the envelope changes regime and the operator becomes hard to stop. The two share a name because the second was named after the first: the earliest operators to cross the threshold reliably were the ones running salvage in the boundary zone, where the harder coupling made it easy, and they brought the word back with them.
"Breaking the line" is the phrase that grew out of both. A line is a defence: a sensor grid, a ridge of interceptors, a Core Station with a reserve behind it. Breaking it is crossing it faster than it can respond, above the Break, carrying something the defence needed to keep. The game's central mechanic is that act, and its flagship mode is named for it: BreakFlag, the Core carried from one Station to the other across a battlefield built as Breaklines.
Every map brief below names its Breaklines as safe, fast and extreme. The community renames them within a week of release; the briefs are the starting vocabulary, not the final one.
Ground first, weather second, routes third. Every brief names its Breaklines safe, fast and extreme; the community renames them within a week.
MB-GND-ABATTLEFIELD BRIEF
Tallow Reach
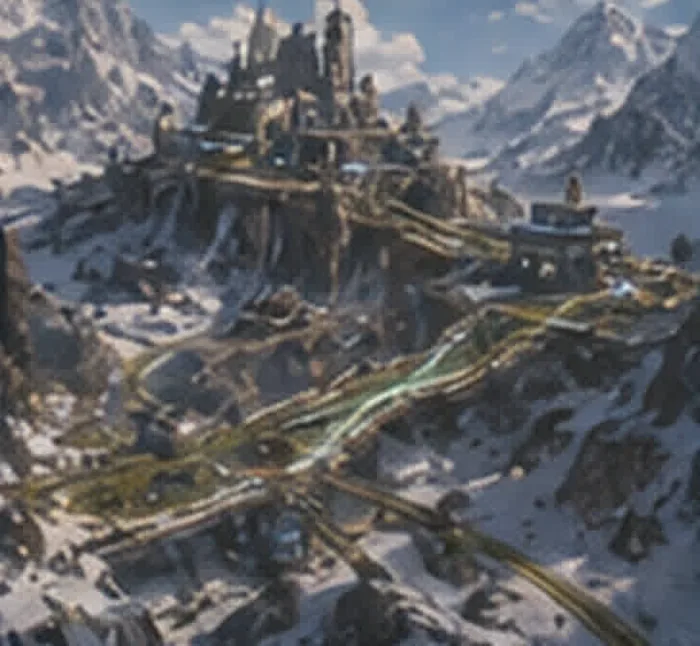
Boundary zone, Halden strand. Sanctioned-contest ground since LS 199. Snowbound glacial valley, two ridge bases.
Concept Mood for Tallow Reach, cropped from a concept board; not the shipped ground.
Ground
A glacial valley twelve hundred metres wide runs north–south between two ridgelines. The valley floor is a frozen outwash plain with long, gentle undulations under wind-packed snow: fast glide, few obstacles, no cover. The glacier itself fills the northern third and breaks into a field of seracs and crevasse lips where it meets the plain. Each base sits on the shoulder of its ridge, three hundred metres above the valley floor, dug into the rock with the Core Station in a rear chamber and the generator under a snow-shelf that must be climbed or flown to reach.
Weather
Static clear conditions in competitive play. Wind-driven snow, reduced visibility and a cold-soak cell penalty in casual and PvE variants only.
Breaklines
Safe (the Floor)
Drop from the base shoulder into the valley by the long southern spur, glide the undulations up the centre, climb the enemy's spur under fire. Slow, exposed, forgiving.
Fast (the Rail)
A moraine ridge runs along the eastern edge of the valley floor, its crest a single ribbon of packed snow that gives velocity all the way. A Runner who holds the Rail arrives above the Break at the enemy shoulder; a Runner who slips off it lands in the crevasse field.
Extreme (the Serac Drop)
Rise from the base onto the glacier, cross the seracs at altitude on a chain of Burns, and Dive the ice face directly onto the enemy Core Station roof. Two Burns of cell at the end, and nothing left to land with.
Notes for defenders
The ridge bases can see the Floor entirely and the Rail from the base's northern turret only. Sensor posts on the moraine crest are the difference between a defence and a hope. The counter-battery position is the old survey hut on the western spur; a Bulwark there covers the enemy shoulder and nothing else.
MB-GND-BBATTLEFIELD BRIEF
Cairn Node Station
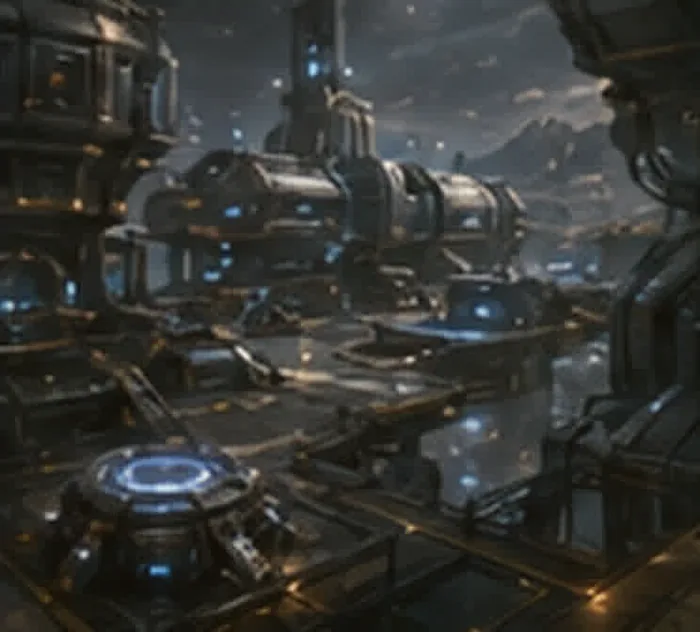
Contested node, the first battlefield of the Mach Wars, LS 189. Rock and steel; a captured planetoid's surface at low gravity.
Concept Mood for Cairn Node Station, cropped from a concept board; not the shipped ground.
Ground
The node station is a ring of industrial structures around a planetoid's polar mass-anchor. The surface is bare regolith in broad, shallow craters that glide beautifully and give nothing back on the climbs; low gravity stretches every Burn Arc and makes every Dive a commitment. The two bases occupy opposite cargo terminals on the ring, connected by the outer service road (open, slow) and by the interior transit tube (fast, enclosed, Shard Cannon country).
Breaklines
Safe (the Road)
the service road around the ring. Long, visible, mined by every Engineer who ever played here.
Fast (the Craters)
a chain of three craters across the interior plain, each rim a launcher into the next. Above the Break by the second crater; interceptors know it.
Extreme (the Anchor Vault)
Rise over the mass-anchor's housing and Dive down the far side into the enemy terminal's roof hatch. The anchor's gradient distorts Burn Arcs near it, an effect the survey services describe and no map shows.
Notes
The transit tube is the defence's fallback and the attack's ambush. Whoever holds the tube's central junction holds the option of a slow, safe, invisible Runner.
MB-GND-CBATTLEFIELD BRIEF
Marrow Outer Station
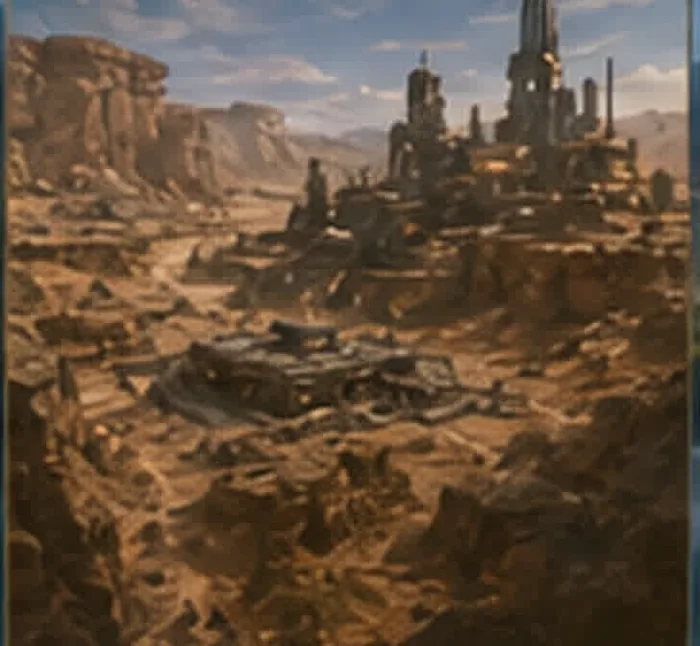
Boundary zone, swallowed by the Break's advance in LS 204. An evacuated orbital-tether ground station on a desert world; salvage camps at both ends.
Concept Mood for Marrow Outer Station, cropped from a concept board; not the shipped ground.
Ground
A dry basin under a dead tether whose lower cable still hangs from the sky and buries itself in a dune field at the basin's centre. The basin floor is hardpan, fast and flat; the dunes are soft on the windward face (velocity drains) and packed on the lee (velocity builds). The bases are salvage camps built into the tether's two anchor pylons at the basin's edges, with the Core Station at the top of each pylon and the generator at the base.
Breaklines
Safe (the Hardpan)
straight across the basin floor, around the dunes. Fast on Glide, fully visible from both pylons.
Fast (the Lee Chain)
a serpentine along the lee faces of the dune field, out of sight from both pylons for most of its length, arriving under the enemy pylon at the Break.
Extreme (the Cable)
climb the hanging tether cable on Burn, ride it as a ramp, and Dive from its height onto the enemy pylon's Core Station platform. The cable sways.
Notes
The Break's coupling is strongest here of any sanctioned ground; recorded speeds at Marrow are the highest in the contest ledgers and the record of 412 km/h was set on the Cable. Beacon-mortar chains are ordinary here because the pylons are easy to mark and hard to move.